
Bosch Oven User Guide: A Comprehensive Overview (Updated 03/31/2026)
Today is 03/31/2026 16:35:47 ()․ Greetings and welcome to this comprehensive guide‚ designed to effortlessly navigate your Bosch oven’s features and functions!
Welcome! This section marks the beginning of your culinary journey with your new Bosch oven․ We understand that a modern oven represents a significant investment‚ and we’re committed to ensuring you maximize its potential․ This user guide serves as your primary resource‚ offering detailed instructions and helpful tips to unlock the full spectrum of your oven’s capabilities․
Bosch ovens are renowned for their precision engineering‚ innovative features‚ and consistent performance․ Whether you’re a seasoned chef or a novice cook‚ this oven is designed to deliver exceptional results every time․ We’ve meticulously crafted this manual to be user-friendly‚ covering everything from initial setup and basic operation to advanced baking modes and troubleshooting․
Prepare to explore a world of culinary possibilities! This guide will empower you to confidently create delicious meals‚ explore new recipes‚ and enjoy the convenience of a truly exceptional appliance․ Let’s begin!
Safety Precautions
Important Safety Information: Your safety is paramount․ Before operating your Bosch oven‚ carefully review these crucial safety precautions to prevent potential hazards and ensure proper usage․ Ignoring these warnings could result in injury or damage to the appliance․
Always supervise children when the oven is in use․ The exterior surfaces can become extremely hot during operation‚ posing a burn risk․ Never allow anyone to climb or hang on the oven door․ Ensure proper ventilation during cooking to prevent the buildup of fumes․ Avoid using abrasive cleaners or harsh chemicals‚ as they can damage the oven’s surfaces․
Regularly inspect the power cord for any signs of damage․ If damaged‚ it must be replaced by a qualified technician․ Do not attempt to repair the oven yourself․ Contact authorized service personnel for any repairs or maintenance․ Disconnect the oven from the power supply before cleaning or performing any maintenance․
General Safety Warnings
Read Carefully: Prior to utilizing your Bosch oven‚ familiarize yourself with these general safety warnings․ This appliance is intended for household use only․ Misuse can lead to hazardous situations․ Never operate the oven if the power cord or plug is damaged․ Always use oven mitts or pot holders when handling hot cookware or oven racks․
Keep flammable materials away from the oven’s vicinity‚ including curtains‚ paper towels‚ and aerosols․ Do not store items in the oven when it is not in use‚ as this can create a fire hazard․ Ensure the oven is properly installed and grounded according to local regulations․ Avoid touching heating elements directly‚ as they remain hot even after the oven is turned off․
Never immerse the oven or its components in water or other liquids․ If the oven malfunctions‚ immediately disconnect it from the power supply and contact a qualified technician for assistance․ Do not modify the oven in any way․
Electrical Safety
Crucial Precautions: Your Bosch oven operates on high voltage electricity․ To prevent shock and ensure safe operation‚ adhere to these electrical safety guidelines․ Always ensure the oven is properly grounded․ Never operate the appliance with a damaged power cord or plug; replace immediately․ Do not use extension cords or adapters‚ as they can overheat and pose a fire risk․
Avoid operating the oven in damp environments or with wet hands․ If the oven experiences an electrical malfunction‚ immediately disconnect it from the power supply at the circuit breaker․ Do not attempt to repair electrical components yourself; contact a qualified electrician or authorized Bosch service technician․
Regularly inspect the power cord for any signs of damage․ Ensure the voltage specified on the oven’s rating label matches your household voltage․ Disconnect the oven from the power supply before cleaning or performing any maintenance․
Child Safety Lock Function
Protecting Little Ones: Your Bosch oven features a child safety lock to prevent accidental operation․ This function disables the control panel buttons‚ safeguarding children from potential hazards․ To activate the lock‚ typically a combination of buttons (refer to your specific model’s instructions – often holding ‘Lock’ or ‘Timer’ for a few seconds) must be pressed simultaneously․
A visual indicator‚ such as a padlock symbol on the display‚ will confirm activation․ When the lock is engaged‚ the control panel will not respond to touch․ To deactivate‚ repeat the button combination․ Ensure you familiarize yourself with the exact procedure for your oven model․
This feature is particularly useful when children are present in the kitchen․ Regularly check that the lock is functioning correctly․ Never rely solely on the child lock; always supervise children around the oven․
Oven Components & Features
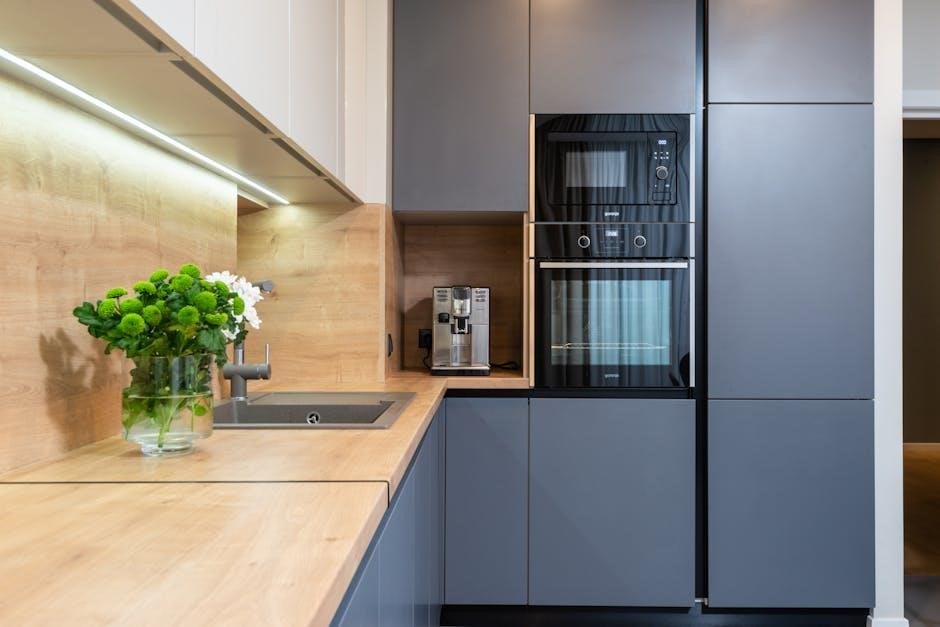
Understanding Your Oven: Your Bosch oven is engineered with precision and boasts several key components designed for optimal performance․ These include a user-friendly control panel‚ offering intuitive access to various baking modes and settings․ The oven interior features durable racks‚ strategically placed lights for clear visibility‚ and a powerful fan ensuring even heat distribution․
The oven door is designed with multiple layers of glass for enhanced insulation and safety․ It also incorporates features for easy cleaning․ Familiarizing yourself with these components will greatly enhance your cooking experience․ Explore the different rack positions to accommodate various dish sizes and types․
The fan’s operation is crucial for convection baking‚ delivering consistent results․ Regularly inspect the door seals for proper closure‚ maximizing energy efficiency․
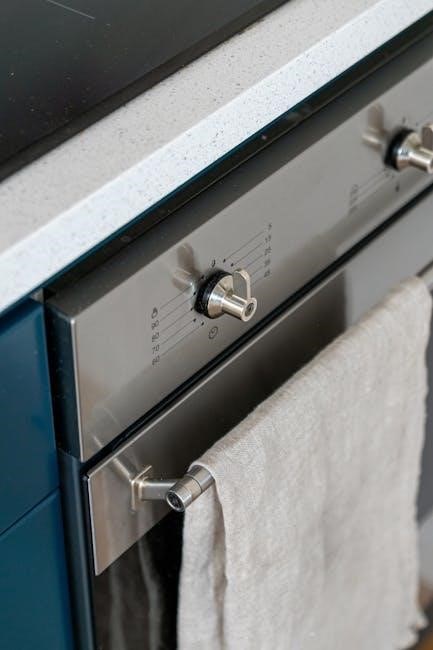
Control Panel Overview
Navigating the Interface: The Bosch oven’s control panel is designed for intuitive operation․ A central display screen clearly shows selected settings‚ temperature‚ and remaining cooking time․ Touch controls or rotary dials (depending on the model) allow for precise adjustments․ Key buttons include those for power‚ temperature‚ baking mode selection‚ and timer functions․
Dedicated buttons often provide quick access to frequently used features like broiling or warming․ The panel also features indicators for preheating status and active functions․ Explore the menu options to discover specialized programs and customization settings․ Understanding each button’s function will unlock the full potential of your oven․
Refer to the detailed diagrams in this guide for specific button locations and their corresponding actions․
Oven Interior – Racks‚ Lights & Fan
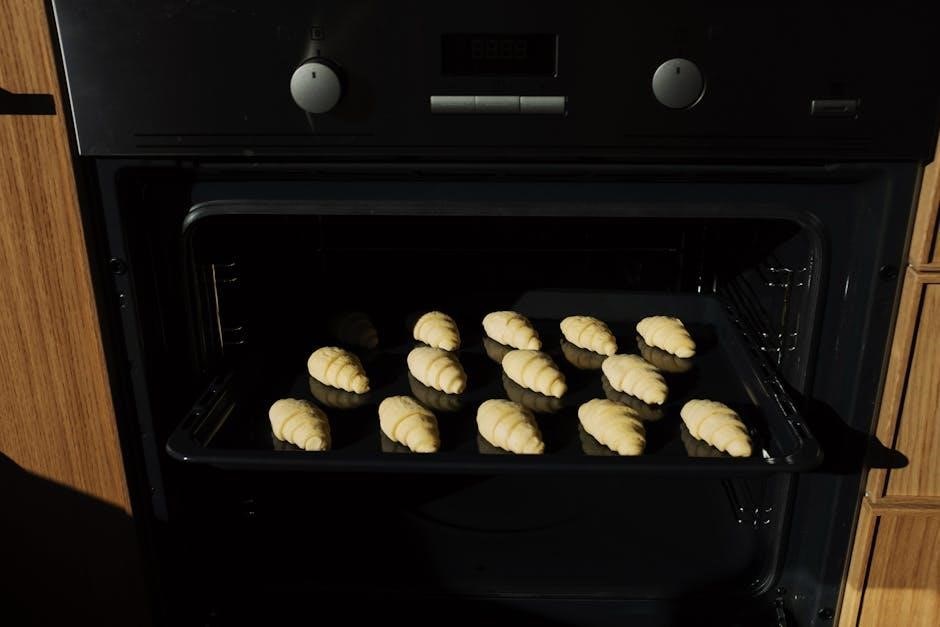
Inside Your Bosch Oven: The oven interior is thoughtfully designed for optimal cooking performance․ Adjustable racks allow you to customize the cooking space for various dish sizes and configurations․ Typically‚ Bosch ovens include multiple rack positions to accommodate different needs․
Bright interior lights illuminate the cavity‚ providing clear visibility of your food while cooking without losing heat․ A powerful convection fan‚ often located in the rear of the oven‚ circulates hot air evenly‚ ensuring consistent results․ This fan is crucial for fan baking and 3D hot air modes․
Ensure racks are securely placed before preheating․ Avoid obstructing the fan with large cookware․ Regularly inspect the lights for functionality and replace if necessary․
Door Features & Cleaning

Bosch Oven Door Design: Your Bosch oven door is engineered for safety and efficiency‚ featuring a soft-close mechanism to prevent slamming․ Many models include a triple-glass door to minimize heat loss and maintain a lower exterior temperature․ The door’s design also allows for easy viewing of your cooking progress․
Cleaning the Door: Regular cleaning keeps your oven looking its best․ For light cleaning‚ use a damp cloth with mild detergent․ Avoid abrasive cleaners‚ which can damage the glass․ For stubborn stains‚ a specialized oven cleaner may be used‚ following the manufacturer’s instructions carefully․
Some models allow for easy door removal for thorough cleaning․ Refer to the full manual for specific instructions on removing and reinstalling the door safely․
Getting Started: Initial Setup
Initial Setup is Crucial: Before your first culinary adventure with your new Bosch oven‚ a few initial steps are necessary to ensure optimal performance and longevity․ These steps are designed to prepare the oven for regular use and familiarize you with its basic functions․
First-Time Use – Burning Off Coatings: Upon installation‚ it’s essential to run a “burn-off” cycle․ This process eliminates any protective coatings applied during manufacturing that might produce odors during initial baking․ Set the oven to a high temperature (typically 400°F/200°C) and run it empty for approximately 60 minutes․
Setting the Clock & Time: Accurate timekeeping is vital for programmed cooking․ Use the control panel to navigate to the clock setting and adjust the hour and minute․
First-Time Use – Burning Off Protective Coatings
Essential Initial Step: Before embarking on your first baking experience‚ performing a burn-off cycle is paramount․ New Bosch ovens are coated with protective substances applied during manufacturing․ These coatings are entirely safe but can emit a slight odor or potentially affect the flavor of your initial dishes if not removed․
Procedure: To initiate the burn-off‚ ensure the oven is completely empty – no racks‚ pans‚ or accessories should be inside․ Set the oven temperature to its highest setting‚ typically around 400°F (200°C)․ Run the oven in conventional heating mode for a duration of approximately 60 minutes․
Ventilation: Adequate ventilation is crucial during this process․ Open windows or activate your kitchen’s exhaust fan to dissipate any temporary odors․ After the cycle completes‚ allow the oven to cool completely before use․
Setting the Clock & Time
Initial Setup: Accurate timekeeping is fundamental for utilizing your Bosch oven’s programmed functions and timers effectively․ Upon initial power-up‚ or after a power outage‚ the clock will likely need resetting․ The process is generally straightforward‚ guided by the oven’s control panel․
Procedure: Locate the “Clock” or “Time” setting within the menu options․ This is typically accessed via dedicated buttons or a touchscreen interface․ Use the arrow keys or numerical keypad to input the correct hour and minute․ Confirm your selection by pressing the “Set” or “Enter” button․
Time Format: Verify that the time format (12-hour or 24-hour) is set to your preference․ Some models allow you to switch between these formats within the settings menu; Ensure the date is also correctly configured for optimal functionality․
Setting the Language (If Applicable)
Multilingual Support: Many modern Bosch ovens offer multilingual support‚ catering to a diverse user base․ If your model includes this feature‚ the language setting allows you to display the control panel menus and messages in your preferred language․
Accessing the Setting: To change the language‚ navigate to the “Settings” menu on the control panel․ Look for an option labeled “Language‚” “Display Language‚” or similar․ This is often found within the general settings or preferences section․
Selection Process: A list of available languages will appear․ Use the arrow keys or touchscreen to scroll through the options and select your desired language․ Confirm your choice by pressing the “Set‚” “Enter‚” or “OK” button․ The oven’s display will then update to reflect the new language setting․
Baking Modes Explained
Diverse Baking Options: Bosch ovens boast a variety of baking modes designed to deliver optimal results for different culinary creations․ Understanding these modes is crucial for achieving perfect bakes every time․ Each mode utilizes specific heating elements and fan configurations to control temperature and heat distribution․
Key Modes Overview: Common modes include Conventional Heating (ideal for traditional baking)‚ Fan Baking (for faster‚ more even cooking)‚ and 3D Hot Air (true convection‚ excellent for multi-rack baking)․ The Pizza Setting optimizes temperature for crispy crusts․ Explore each mode to discover its unique benefits․
Mode Selection: Select your desired baking mode using the control panel․ Refer to your recipe for guidance‚ or experiment to find what works best for your dishes․ Precise temperature control and mode selection are key to successful baking․

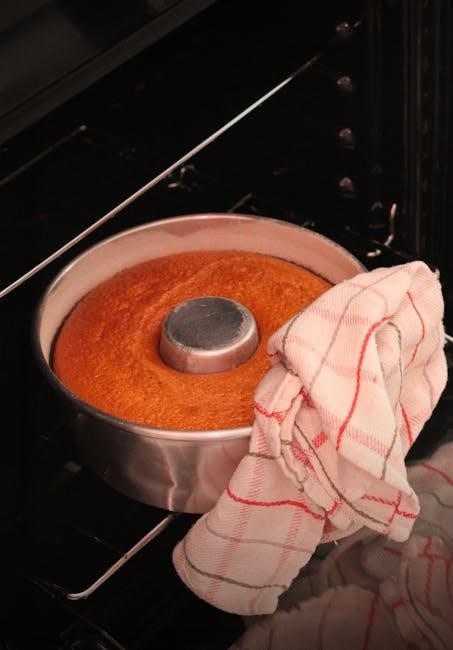
Conventional Heating (Top & Bottom Heat)
Traditional Baking Experience: Conventional Heating‚ utilizing top and bottom heating elements‚ mimics traditional oven baking․ This mode is perfect for recipes where gentle‚ even heat is desired‚ such as cakes‚ soufflés‚ and certain breads․ It’s ideal when a gradual rise and consistent temperature are essential for optimal texture and structure․
Heat Distribution: Heat radiates from the top and bottom‚ creating a stable oven environment․ While effective‚ it may result in slightly uneven cooking compared to convection modes․ Rotating the baking sheet midway through can help ensure even browning․
Best Uses: This mode excels with delicate pastries and dishes requiring a slower‚ more controlled baking process․ It’s a reliable choice for classic recipes and achieving familiar baking results․
Fan Baking (Convection Bake)
Enhanced Cooking with Circulation: Fan Baking‚ also known as Convection Bake‚ employs a heating element combined with a fan to circulate hot air throughout the oven cavity․ This constant air movement results in faster and more even cooking compared to conventional heating․
Faster & Even Results: The circulating air eliminates hot spots‚ ensuring consistent temperatures throughout․ This is particularly beneficial for baking multiple trays of cookies or roasting larger cuts of meat․ Expect reduced cooking times – typically 25% faster than conventional baking․
Ideal Applications: Perfect for roasting vegetables‚ baking cookies‚ and cooking casseroles․ It’s also excellent for achieving crispy textures and browning․ Adjust recipes accordingly‚ potentially lowering the temperature by 25°F․
3D Hot Air (True Convection)
Superior Airflow for Exceptional Results: Bosch’s 3D Hot Air system represents a significant advancement in convection technology․ Unlike standard convection‚ 3D Hot Air utilizes a dedicated heating element around the fan‚ combined with optimized airflow design‚ to deliver truly uniform heat distribution․
Even Cooking on Multiple Levels: This system allows for simultaneous cooking on up to three levels without the need for rotating trays․ Food cooks evenly on each rack‚ saving you time and effort․ It’s ideal for large-batch baking and meal preparation․
Optimized for Speed & Quality: Expect even faster cooking times and superior results compared to standard convection baking․ Recipes may require temperature adjustments – typically a reduction of 20-30°F – to prevent over-browning․
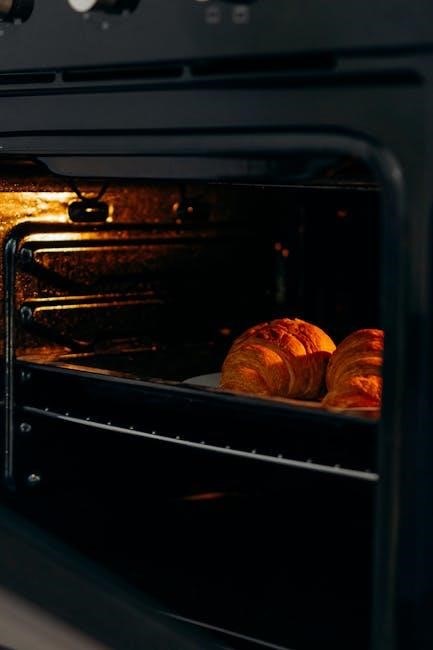
Pizza Setting
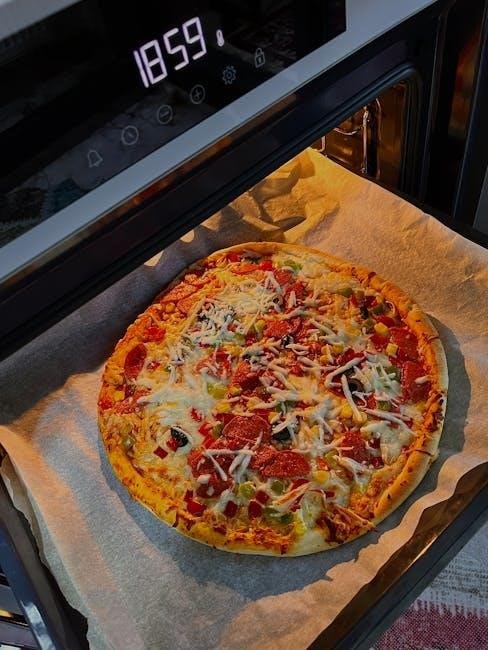
Achieve Authentic Pizza Perfection: The dedicated Pizza Setting on your Bosch oven is engineered to replicate the high temperatures of a traditional brick oven‚ delivering crispy crusts and perfectly melted toppings․ This specialized mode optimizes both the heating elements and airflow for ideal pizza baking․
Bottom Heat Emphasis: Unlike conventional baking‚ the Pizza Setting emphasizes bottom heat‚ ensuring a thoroughly cooked and delightfully crisp crust․ This prevents soggy bottoms‚ a common issue with home-baked pizzas․
Preheating is Key: For best results‚ always preheat the oven using the Pizza Setting for a minimum of 30-40 minutes․ This ensures the baking stone (if used) or oven floor reaches the optimal temperature․ Experiment with baking times to suit your preferred crust thickness and topping load․
Special Functions & Programs
Beyond Basic Baking: Your Bosch oven boasts a suite of specialized functions and programs designed to expand your culinary capabilities․ These features go beyond standard baking and roasting‚ offering convenience and precision for a variety of dishes․
Enhanced Versatility: Explore options like the Broiling/Grilling function for searing meats and vegetables to perfection‚ achieving a beautiful caramelized exterior․ The Defrosting function provides a gentle and even thaw‚ preserving the texture and flavor of your ingredients․
Maintaining Warmth: Utilize the Warming function to keep cooked dishes at an ideal serving temperature without overcooking․ These programs are intuitively designed for ease of use‚ simplifying complex cooking tasks and delivering consistently excellent results․
Broiling/Grilling Function
Achieving a Perfect Sear: The Broiling/Grilling function utilizes intense‚ direct heat from the upper heating element to quickly sear and brown foods․ This is ideal for achieving a delicious crust on meats‚ poultry‚ fish‚ and vegetables‚ replicating the results of outdoor grilling․
Positioning is Key: For optimal results‚ adjust the oven rack to the appropriate level – closer for searing‚ further away for slower cooking․ Always use oven-safe cookware designed for high temperatures․ Monitor food closely during broiling‚ as it cooks rapidly and can burn easily․
Safety First: Keep the oven door slightly ajar during broiling to prevent overheating and ensure proper ventilation․ This function delivers restaurant-quality results‚ adding a delightful smoky flavor and texture to your favorite dishes․
Defrosting Function
Gentle and Efficient Thawing: The Defrosting Function provides a controlled and even way to thaw frozen foods‚ preserving their texture and flavor․ Unlike microwave defrosting‚ this method minimizes cooking during the thawing process‚ preventing uneven results and maintaining food quality;
Weight-Based Precision: To utilize this function effectively‚ accurately input the weight of the frozen item․ The oven will then calculate the appropriate defrosting time‚ ensuring thorough thawing without initiating cooking․ It’s crucial to place the food on an oven-safe dish to contain any potential drips․
Food Safety Reminder: Always cook defrosted food immediately after the cycle is complete․ This function is best suited for meats‚ poultry‚ fish‚ and bread products‚ offering a convenient alternative to lengthy room-temperature thawing․
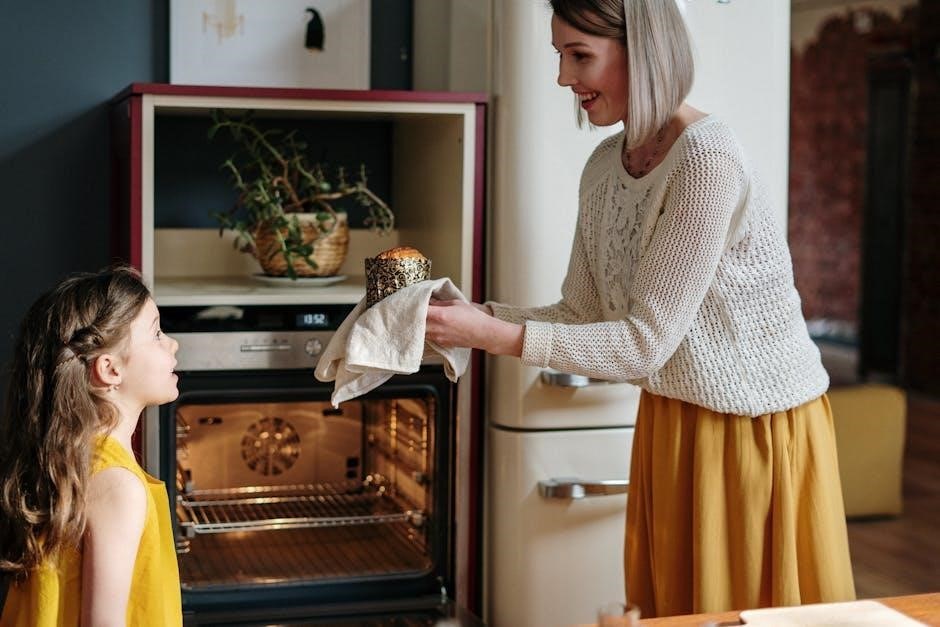
Warming Function
Keep Food at the Perfect Temperature: The Warming Function is designed to maintain cooked food at a safe and enjoyable serving temperature without further cooking․ This is ideal for holding dishes until the entire meal is ready or keeping food warm for guests․
Low and Consistent Heat: Utilizing a low and consistent heat setting‚ the Warming Function prevents food from drying out or becoming overcooked․ It’s particularly useful for pastries‚ breads‚ and cooked meats‚ ensuring they remain palatable for extended periods․
Time Considerations: Avoid leaving food in the warming setting for excessively long durations‚ as even low heat can eventually alter texture and flavor․ Regularly check the food’s temperature to ensure it remains within a safe and desirable range․
Cleaning & Maintenance
Maintaining Peak Performance: Regular cleaning and maintenance are crucial for ensuring the longevity and optimal performance of your Bosch oven․ This section details both self-cleaning options and manual cleaning procedures for both the interior and exterior surfaces․
Pyrolytic Self-Cleaning: Many Bosch ovens feature a pyrolytic self-cleaning program‚ which utilizes high temperatures to burn off food residue into ash․ This process requires no manual scrubbing‚ but it does generate heat and a slight odor․ Always follow the safety instructions provided before initiating this cycle․
Manual Cleaning Best Practices: For lighter cleaning or between self-cleaning cycles‚ manual cleaning is effective․ Use a mild detergent and warm water‚ avoiding abrasive cleaners that could damage the oven’s surfaces․ Remember to disconnect the power before any manual cleaning procedures․
Self-Cleaning Programs (Pyrolytic Cleaning)
Harnessing High Heat for Effortless Cleaning: Bosch ovens equipped with pyrolytic self-cleaning offer a convenient‚ hands-free method for removing baked-on food residue․ This process heats the oven cavity to extremely high temperatures – typically around 900°F (482°C) – converting food spills into ash․
Initiating the Cycle: Before starting‚ remove all oven racks‚ cookware‚ and any loose debris․ Ensure the oven door can lock securely․ Select the pyrolytic cleaning program on the control panel and choose the appropriate cleaning duration based on the level of soiling․ The oven will automatically lock during the cycle․
Safety & Post-Cleaning: A slight odor may be noticeable during operation; ensure adequate ventilation․ Once cooled‚ wipe away the remaining ash with a damp cloth․ Always consult the full user manual for detailed safety precautions and specific model instructions․
Manual Cleaning – Interior & Exterior
Maintaining a Pristine Oven: For ovens without self-cleaning functionality‚ or for quick touch-ups‚ manual cleaning is essential․ Begin by disconnecting the oven from the power supply․ Allow the oven to cool completely before starting․
Interior Cleaning: Prepare a solution of warm water and mild dish soap․ Use a soft cloth or sponge to wipe down the interior surfaces‚ avoiding abrasive cleaners that could damage the enamel․ For stubborn stains‚ create a paste of baking soda and water‚ apply‚ let sit‚ then gently scrub․
Exterior Cleaning: Clean the oven’s exterior with a damp cloth and mild detergent․ Stainless steel surfaces benefit from specialized stainless steel cleaners․ Avoid harsh chemicals or scouring pads․ Dry all surfaces thoroughly after cleaning to prevent water spots․
Removing & Cleaning Oven Glass Door
Safe Door Removal: Before attempting to remove the oven door‚ ensure the oven is cool and disconnected from power․ Most Bosch oven doors feature a hinge mechanism allowing them to be lifted and removed․ Consult your specific model’s instructions for the precise procedure‚ as variations exist․
Cleaning the Glass: Once removed‚ clean both sides of the glass door with a glass cleaner or a solution of warm water and dish soap․ For baked-on residue‚ a paste of baking soda and water can be effective․ Avoid abrasive cleaners that could scratch the glass․
Reinstallation: Carefully reattach the door‚ ensuring it’s securely locked into place․ Improper installation can compromise oven safety and performance․ Refer to your model’s manual for detailed reinstallation steps․
Troubleshooting Common Issues
Oven Not Heating: If your Bosch oven isn’t heating‚ first verify it’s properly plugged in and the circuit breaker hasn’t tripped․ Check the control panel for error codes․ If the issue persists‚ a faulty heating element or temperature sensor might be the cause – professional service is recommended․
Error Codes: Bosch ovens utilize error codes to indicate specific problems․ Consult the oven’s manual for a comprehensive list and their meanings․ Common codes relate to temperature sensor failures‚ control module issues‚ or door lock malfunctions․ Note the code before contacting support․
Door Problems: If the door doesn’t close properly‚ inspect for obstructions․ A malfunctioning door latch may require professional repair․ Ensure the door seals are intact to maintain oven temperature and efficiency․
Oven Not Heating Up
If your Bosch oven fails to heat‚ begin with the simplest checks․ Confirm the oven is securely plugged into a functioning power outlet and that the corresponding circuit breaker hasn’t tripped or blown a fuse․ Verify the control panel displays no error messages indicating a specific issue․ Ensure the oven door is completely closed‚ as a safety interlock prevents operation when ajar․
Next‚ double-check that a baking mode has been selected and the desired temperature is set; If these are correct‚ a faulty heating element is a likely culprit‚ requiring professional diagnosis and replacement․ A malfunctioning temperature sensor can also prevent heating; similarly‚ this needs expert attention․
Do not attempt to repair electrical components yourself; always consult a qualified technician for safety and proper functionality․
Error Codes & Their Meanings
Bosch ovens utilize error codes to pinpoint specific malfunctions‚ aiding in efficient troubleshooting․ A code like “E101” often indicates a temperature sensor fault‚ requiring professional inspection․ “E102” frequently signals a heating element issue – either a short circuit or open circuit – necessitating replacement by a qualified technician․ “E103” may point to a problem with the oven’s control module itself․
Other codes‚ such as “E001” or “F001”‚ can relate to communication errors within the oven’s system․ Always consult the complete error code list in your oven’s specific model manual for precise definitions․ Ignoring error codes can lead to further damage or unsafe operation․
Attempting self-repair based solely on code interpretation is discouraged; professional diagnosis is crucial for accurate resolution․
Door Issues & Solutions
A common issue is a door that doesn’t close properly‚ often due to obstructions like spilled food or improperly positioned racks․ Ensure the oven cavity is clear before attempting closure․ If the door seems misaligned‚ avoid forcing it; this could damage the hinges․ Check the door gasket for damage or debris – a compromised gasket reduces oven efficiency and safety․
For doors that are difficult to open‚ verify the child safety lock isn’t engaged․ If the hinges appear loose‚ contact a qualified technician for repair; attempting DIY hinge adjustments can be risky․ A warped door‚ though rare‚ requires professional attention․
Regular cleaning of the door and gasket prevents many issues․ Never use abrasive cleaners‚ as they can damage the surfaces․