
Welcome to the Century FC-90 Welder Manual, your comprehensive guide to operating and maintaining this versatile flux core welding system. Designed for both beginners and professionals, this manual ensures safe and efficient welding experiences.
1.1 Overview of the Century FC-90 Welder
The Century FC-90 is a versatile and powerful flux core welder designed for a wide range of welding applications. It is compact, lightweight, and portable, making it ideal for both small projects and professional use. The welder operates on 120V input power, features a 30% duty cycle at 80A, and includes accessories like a 6ft cable with ground clamp, welding gun, and shoulder strap for convenience.
1.2 Importance of the Manual for Users
The Century FC-90 Welder Manual is essential for users to understand the welder’s features, safety guidelines, and proper usage. It provides detailed instructions for setup, operation, and maintenance, ensuring optimal performance and longevity. The manual also includes troubleshooting tips and warranty information, making it a vital resource for both novice and experienced welders to maximize their welding experience safely and effectively.
Key Features and Specifications of the Century FC-90
The Century FC-90 is a 120V flux core welder with 80A output and 30% duty cycle. Weighing 18 lbs, it is portable and user-friendly, ideal for various welding tasks.
2.1 Technical Specifications and Output Range
The Century FC-90 operates on 120/1/60 input power, delivering 80A output with a 30% duty cycle at 90A. It offers adjustable current from 30-90A DC, ensuring flexibility for diverse welding tasks. Weighing only 18 lbs, it is lightweight and portable, with a 6 ft. cable and ground clamp, plus a 6 ft. cable with an attached gun for enhanced convenience and efficiency in various welding applications.
2.2 Weight, Dimensions, and Portability
The Century FC-90 weighs just 18 lbs, making it lightweight and easy to transport. Its compact dimensions of 11.25 x 5.75 x 17 inches allow for seamless portability. The included shoulder strap enhances mobility, enabling users to carry the welder effortlessly to various job sites. These features make it ideal for both home-based projects and professional applications requiring frequent relocation.
2.3 Included Accessories and Components
The Century FC-90 comes with essential accessories to enhance functionality. These include a 6 ft. cable with a ground clamp, a 6 ft. cable with an attached welding gun, and a shoulder strap for easy portability. Additionally, the unit includes a detailed instruction manual and a 6 ft. input cable with a 120-volt plug, ensuring everything needed for setup and operation is provided.

Unboxing and Initial Setup of the Century FC-90
Unboxing the Century FC-90 reveals a compact, portable welder with included accessories like cables, ground clamp, and an instruction manual. Initial setup involves connecting cables and performing safety checks.
3.1 Step-by-Step Unpacking Instructions
Carefully open the box and remove the Century FC-90 welder unit. 2. Check for included accessories: 6 ft; cable with ground clamp, 6 ft. cable with gun, shoulder strap, and instruction manual. 3. Inspect all components for damage. 4. Place the welder on a stable surface, ensuring proper ventilation. 5. Proceed to connect cables as outlined in the manual.
3.2 Connecting Cables and Ground Clamp
Locate the 6 ft. cable with the ground clamp and attach it to a clean, bare metal surface on your workpiece. 2. Connect the 6 ft. cable with the welding gun to the welder’s output terminal. 3. Ensure all connections are secure and not touching any electrical components. 4. Avoid touching electrical parts with bare hands or wet clothing. 5. Refer to the manual for diagrams if unsure.
3.3 Initial Power-Up and Safety Checks
Plug in the welder and ensure all cables are securely connected. 2. Turn on the power and check for any loose connections. 3. Test the welding gun trigger to ensure proper function. 4. Verify the thermal overload protection is active by checking the indicator light. 5. Review all safety guidelines before commencing welding operations. Proper initialization ensures safe and efficient welding experiences.
Safety Guidelines for Operating the Century FC-90
Always wear protective gear, ensure proper ventilation, and avoid wet conditions. Regularly inspect cables and connections. Keep the work area clean and clear of flammable materials.
4.1 General Safety Precautions
Always wear protective gear, including gloves, safety glasses, and a welding helmet. Ensure proper ventilation in the workspace to avoid inhaling fumes. Never operate the welder in wet conditions or near flammable materials. Keep loose clothing tied back and avoid jewelry that could conduct electricity. Regularly inspect all cables and connections for damage. Follow all instructions in the manual to ensure safe operation.
4.2 Electrical Safety Measures
Ensure the welder is properly grounded to prevent electrical shocks. Avoid operating in wet conditions or near water. Never touch electrical components with bare hands. Keep the work area dry and free from conductive materials. Use a residual current device (RCD) if available. Always disconnect the power source before servicing or maintaining the welder to prevent accidental start-ups.
4.3 Personal Protective Equipment Requirements
Always wear approved welding helmets with shaded lenses to protect eyes from UV radiation and sparks. Use heat-resistant gloves to prevent burns and ensure grip control. Safety glasses or goggles are essential for additional eye protection. Wear flame-resistant clothing, including long sleeves and pants, to avoid skin exposure. Ensure all PPE fits properly and meets safety standards for optimal protection during welding operations.
Operating Instructions for the Century FC-90
Follow step-by-step guides for setup, parameter adjustment, and starting the welding process. Ensure safety protocols are met and monitor operations for optimal results and equipment longevity.
5.1 Setting Up the Welding Area
Begin by unpacking the welder and ensuring all accessories are included. Choose a well-ventilated, dry workspace away from flammable materials. Ensure the area is clear of clutter and obstacles. Place the welder on a stable, heat-resistant surface. Connect the ground clamp securely to a metal surface. Plug in the welder and perform a quick visual inspection of cables and connections before starting any welding task.
5.2 Adjusting Welding Parameters
Adjust the welding voltage and wire feed speed based on the thickness of the material and desired weld quality. Refer to the manual for specific settings for different materials. Ensure the wire feed speed matches the welding current to maintain consistent arc performance. Fine-tune these settings during practice to achieve optimal results for your welding projects.
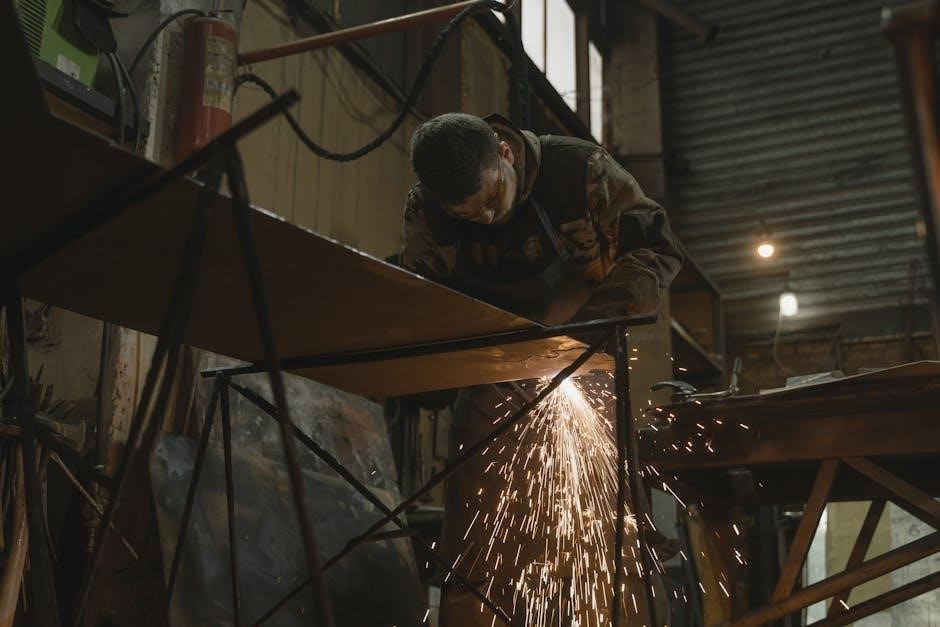
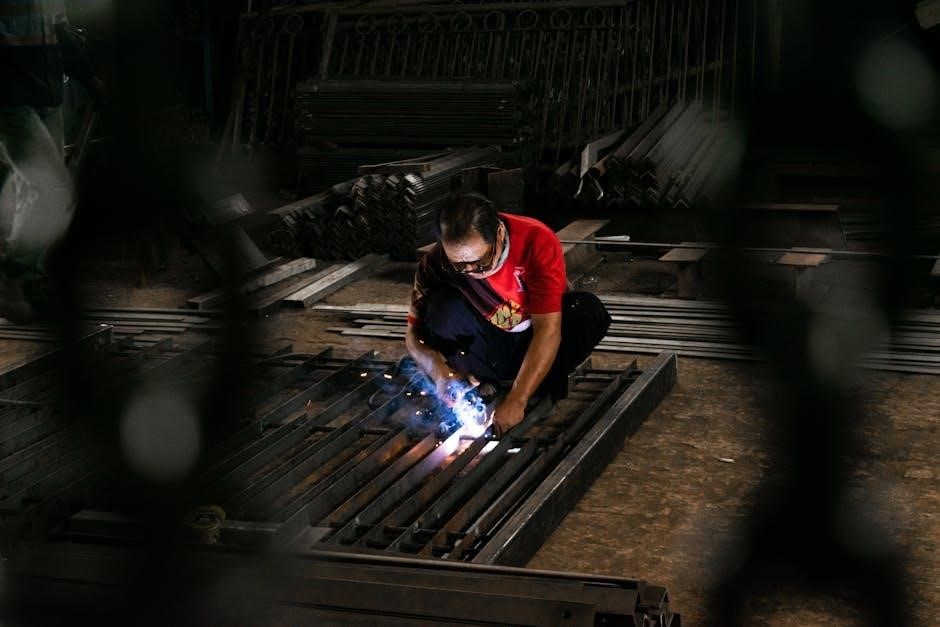
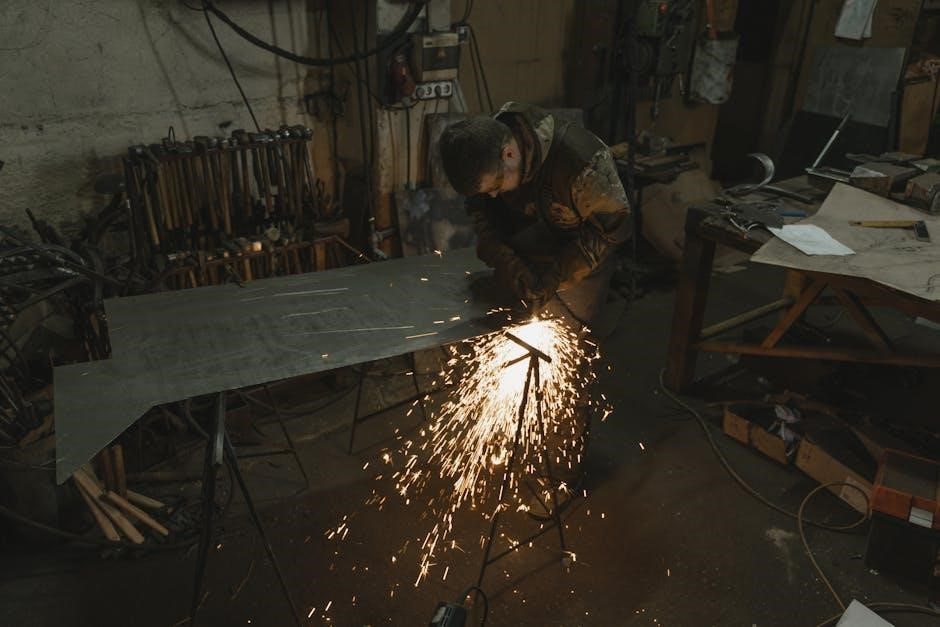
5.3 Starting and Monitoring the Welding Process
Ensure the welding area is clear and all safety precautions are in place. Put on personal protective equipment, including gloves and a welding helmet. Initiate the arc and maintain steady movement along the joint. Monitor the weld pool and adjust technique as needed for consistent penetration and appearance. Keep an eye on the machine’s thermal overload indicator to prevent overheating.
Troubleshooting Common Issues
Identify symptoms, adjust settings, and perform resets as needed. Refer to the manual for diagnosing weld quality problems, electrical faults, and thermal overload protection mechanisms.
6.1 Diagnosing Weld Quality Problems
Common weld quality issues include porosity, lack of fusion, and inconsistent bead appearance. Check wire feed speed, voltage settings, and shielding gas flow. Ensure proper workpiece preparation and clean surfaces. Refer to the manual for troubleshooting charts to identify root causes and apply corrective adjustments for optimal welding results.
6.2 Resolving Electrical or Mechanical Faults
Check the power supply and ensure all connections are secure. Inspect cables and replace damaged ones. Reset circuit breakers if tripped. For mechanical issues, lubricate moving parts and clean the wire feed system. Refer to the manual’s troubleshooting section for specific error codes and repair procedures to restore optimal functionality.
6.3 Thermal Overload Protection and Reset
The Century FC-90 features thermal overload protection to prevent damage from excessive heat. If the welder overheats, it will automatically shut off. Allow the unit to cool down in a well-ventilated area. Once cooled, press the reset button located on the rear or bottom panel. Ensure proper ventilation and avoid overloading to prevent future occurrences. Always refer to the manual for detailed reset instructions.
Maintenance and Care Tips
Regularly clean the welder’s exterior and internal components to ensure optimal performance. Lubricate moving parts and replace worn consumables. Store the unit in a dry, cool place to prevent rust and damage.
7.1 Cleaning and Lubricating the Welder
Use a soft cloth and mild detergent to clean the welder’s exterior. For internal components, apply compressed air to remove dust. Lubricate moving parts and the wire feeder regularly. Ensure the gun and consumables are free from debris. Proper maintenance ensures optimal performance and extends the welder’s lifespan. Always store the unit in a dry, rust-free environment after cleaning.
7.2 Replacing Consumable Parts
Regularly inspect and replace consumable parts like contact tips, nozzles, and wire feed rolls. Refer to the manual for a detailed list of consumables. Use genuine Century replacement parts to ensure compatibility and optimal performance. When replacing, ensure the welder is powered off and follow proper disassembly and reassembly procedures to maintain safety and functionality.
7.3 Storing the Welder Properly
Store the Century FC-90 in a clean, dry environment to prevent rust and damage. Clean the welder thoroughly before storage and ensure it is dry. Use a protective cover to shield it from dust and moisture. Keep the unit away from direct sunlight and flammable materials. Store accessories separately in the included case or a secure location to maintain organization and prevent loss.

Accessories and Replacement Parts
Explore the essential accessories included with the Century FC-90, such as cables, ground clamps, and shoulder straps. Discover replacement parts and optional enhancements to optimize your welding experience.
8.1 Recommended Wire Types for Flux Core Welding
For optimal performance with the Century FC-90, use flux core wires in 0.030-0.045 inch diameters. Choose wires suited to your material type, such as mild steel, stainless steel, or aluminum. Ensure compatibility with the welder’s output range for consistent results. Always check wire condition to avoid feeding issues and maintain weld quality. Proper wire selection enhances both penetration and weld appearance.
8.2 Optional Accessories for Enhanced Functionality
Enhance your welding experience with optional accessories like additional nozzles, contact tips, or a spool gun for specialized wire types. A remote control or foot pedal can improve precision and convenience. Extra storage cases or cart upgrades boost portability. Always ensure accessories are compatible with the Century FC-90 to maintain optimal performance and safety standards.
8.3 Where to Source Genuine Replacement Parts
Genuine replacement parts for the Century FC-90 can be sourced directly from Lincoln Electric’s official website or authorized distributors. Retailers like Home Depot, welding supply stores, or online platforms such as Amazon often carry compatible parts. Always verify seller ratings and product authenticity to ensure quality and compatibility with your welder. Refer to the manual for a list of approved sellers.
Warranty and Customer Support
The Century FC-90 is backed by a 6-month unit warranty and a 90-day gun and cable warranty. For assistance, contact Lincoln Electric customer service or refer to their official website for support resources.
9.1 Warranty Coverage and Duration
The Century FC-90 welder is covered by a 6-month unit warranty and a 90-day gun and cable warranty. The warranty period begins at the time of purchase and applies to defects in materials and workmanship under normal use. This coverage ensures users have protection against manufacturing defects, providing peace of mind for their investment in the welder.
9.2 Contacting Customer Service
For assistance with the Century FC-90, contact Lincoln Electric’s customer service. Call their support hotline or visit their official website for detailed contact information. Ensure you have your model number and serial number ready for efficient support. Representatives are available to address questions, provide troubleshooting guidance, and assist with warranty claims or repair requests.
9.3 Online Resources and Support Documentation
Visit Lincoln Electric’s official website for comprehensive online resources, including the Century FC-90 PDF manual. Explore troubleshooting guides, maintenance tips, and FAQs. Additional support materials, such as instructional videos and technical documentation, are available to help users optimize their welder’s performance and address common issues promptly and effectively.
This concludes the Century FC-90 manual. By following the guidelines, you’ll ensure safe, efficient, and high-quality welding experiences. Happy welding!
10.1 Summary of Key Takeaways
The Century FC-90 welder manual provides essential guidance for safe and effective welding. Key takeaways include proper setup, maintenance tips, and troubleshooting strategies. Always follow safety precautions and manufacturer recommendations for optimal performance and longevity of the equipment.
10.2 Final Tips for Optimal Use of the Century FC-90
For optimal performance, regularly clean and maintain the welder, store it properly, and use genuine accessories. Always follow safety guidelines and adjust parameters as needed. Keep the manual handy for quick reference and contact customer support for any assistance. Proper care ensures longevity and reliable operation of your Century FC-90 welder.