Toyota Sewing Machine User Manual: A Comprehensive Guide
Welcome! This manual provides detailed instructions for operating your Toyota sewing machine‚ covering everything from initial setup to advanced techniques.
Explore models‚ components‚ troubleshooting‚ and maintenance for optimal performance‚ ensuring years of creative sewing enjoyment.
Find inspiration and assistance with Pinterest’s ideas for Toyota sewing machine models and more!
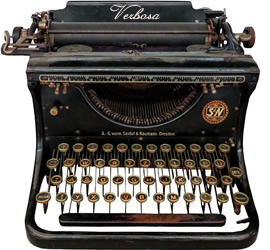
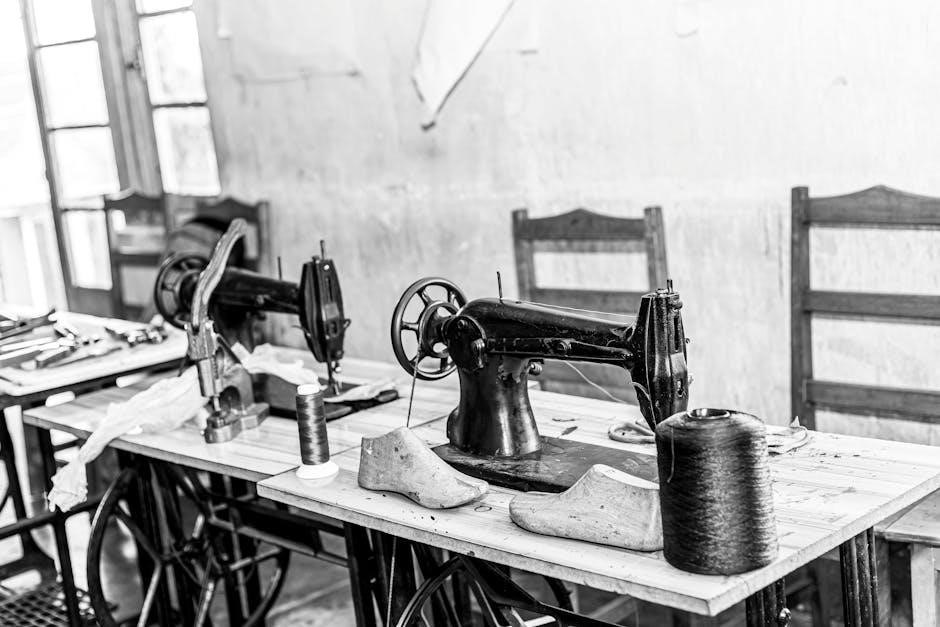
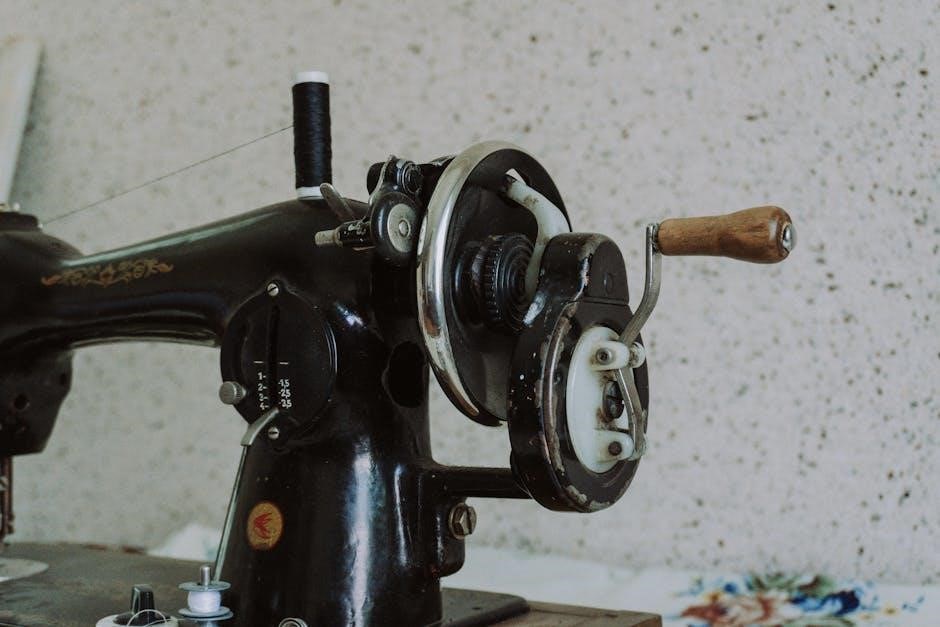
Toyota sewing machines have a long-standing reputation for reliability‚ precision‚ and innovative design‚ serving both beginner and experienced sewers. From vintage treadle models to modern computerized machines‚ Toyota offers a diverse range to suit various needs.
This user manual aims to unlock the full potential of your Toyota machine‚ guiding you through its features and functionalities. Whether you’re embarking on simple repairs or complex tailoring projects‚ understanding your machine is key. Explore Pinterest for inspiration regarding different Toyota sewing machine models and discover the possibilities!
We’ll cover essential aspects‚ ensuring a smooth and enjoyable sewing experience.
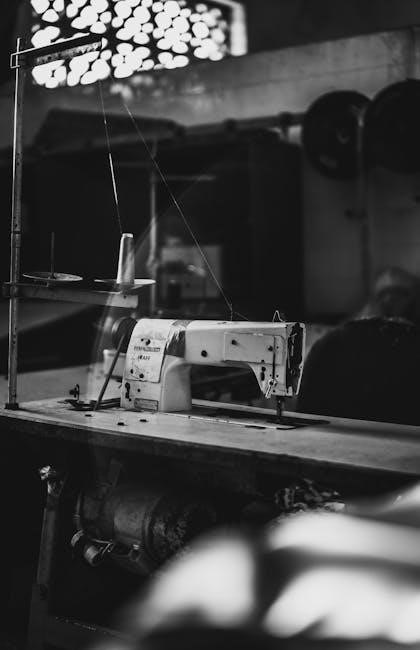
Understanding Toyota Sewing Machine Models
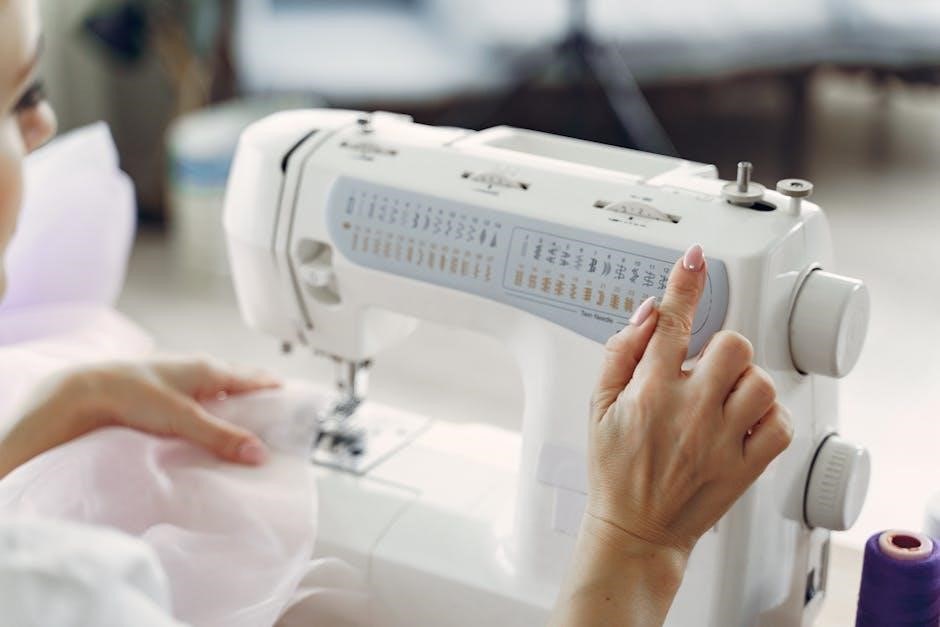
Toyota offers a wide array of sewing machine models‚ each designed with specific features and capabilities. From basic mechanical machines ideal for beginners to advanced computerized models boasting numerous stitch patterns and automated functions‚ there’s a Toyota machine for every skill level.
Exploring available models on platforms like eBay reveals options for crafting and tailoring. Pinterest provides visual inspiration and ideas related to various Toyota sewing machine models‚ aiding in selection. Understanding the differences – such as stitch options‚ speed control‚ and included accessories – is crucial for choosing the right machine for your projects.
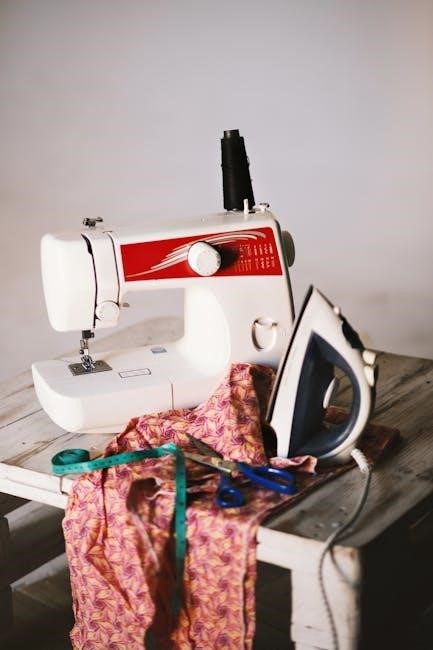
Key Components of Your Toyota Sewing Machine
Your Toyota sewing machine comprises several essential components working in harmony. These include the power switch‚ handwheel‚ needle clamp‚ presser foot‚ and presser foot lifter. The bobbin winder and bobbin case are vital for thread supply‚ while the tension dials control stitch quality.
Understanding the function of each part‚ as highlighted in resources like Pinterest’s exploration of sewing machine parts‚ is key. Familiarize yourself with the stitch selector‚ stitch length dial‚ and reverse lever for versatile sewing. Proper component knowledge ensures efficient operation and maintenance.
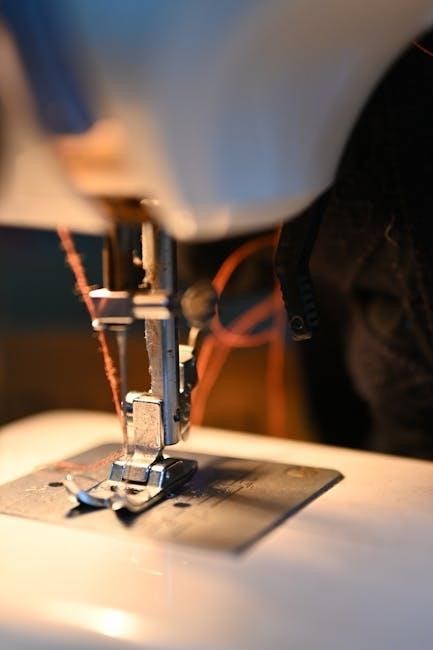
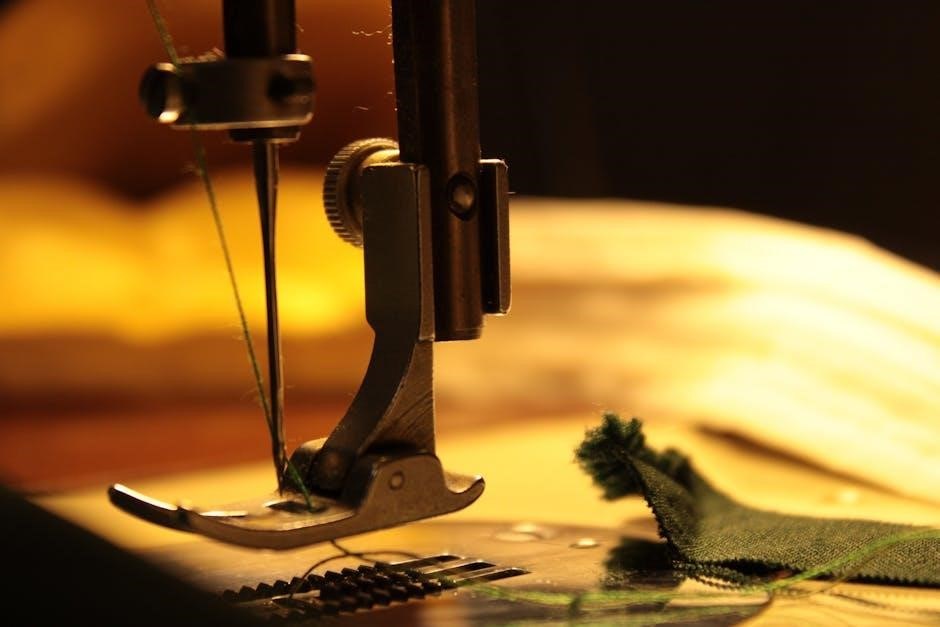
Needle and Presser Foot Mechanisms
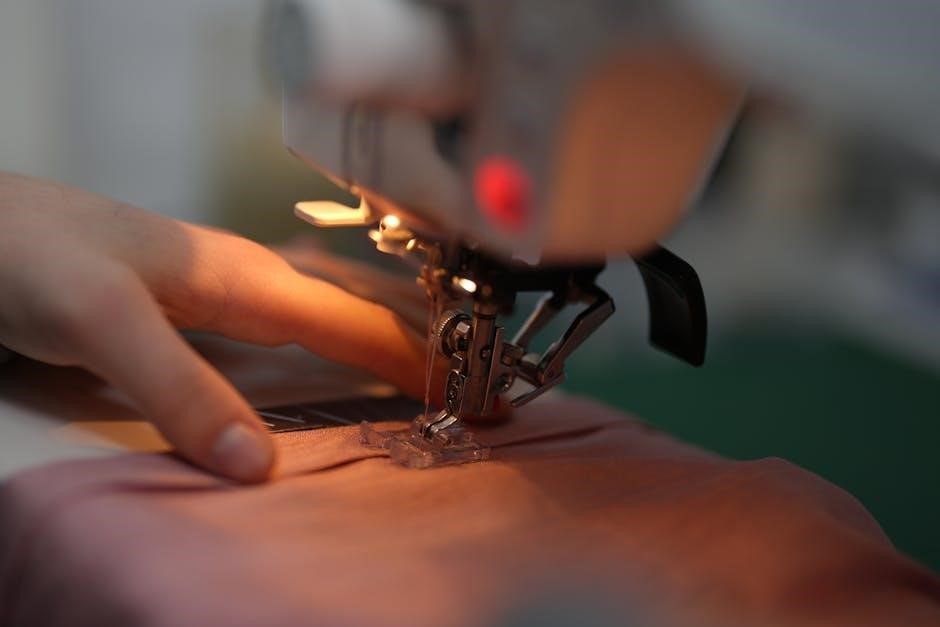
The needle mechanism drives the needle up and down‚ creating stitches. Ensure the correct needle type is used for your fabric. The presser foot mechanism holds the fabric firmly against the feed dogs‚ guiding it under the needle.
Adjusting presser foot pressure is crucial for even stitching‚ especially on delicate materials. Proper needle and presser foot selection‚ as explored in sewing machine resources‚ impacts stitch quality. Regularly check for wear and tear‚ replacing components as needed for optimal performance and consistent results.
Bobbin Winding and Insertion
Winding the bobbin involves guiding thread from the spool onto the bobbin evenly. Follow your machine’s specific instructions‚ typically using a bobbin winder mechanism. Correct tension during winding is vital to prevent uneven stitches.
Inserting the bobbin varies by model – front-loading or top-loading. Ensure the thread unwinds in the correct direction. A properly inserted bobbin is essential for forming balanced stitches. Refer to your Toyota sewing machine’s manual for detailed diagrams and guidance on this crucial step.
Thread Tension Control
Thread tension is critical for stitch quality. Incorrect tension leads to looping‚ puckering‚ or thread breakage. Toyota machines feature adjustable tension dials; experiment with settings using scrap fabric.
Upper tension controls the thread from the spool‚ while bobbin tension affects the underside. Generally‚ increase upper tension for loose stitches and decrease it for tight ones. Always test adjustments before sewing your project. Proper tension creates balanced‚ professional-looking seams. Consult your manual for specific recommendations based on fabric type and thread weight.
Setting Up Your Toyota Sewing Machine
Preparation is key! Begin by placing your Toyota machine on a stable‚ level surface. Ensure the power cord is securely connected‚ but do not switch it on yet. Familiarize yourself with the machine’s key components – needle‚ presser foot‚ bobbin area‚ and thread paths.
Before threading‚ verify the presser foot is up and the needle is in its highest position. This facilitates smooth threading. Proper setup prevents issues later. Refer to the threading diagrams in this manual for accurate guidance.
Powering On and Initial Checks
Safety first! Before powering on‚ double-check that the machine is plugged into a grounded outlet with the correct voltage. Once connected‚ switch the power on using the power switch‚ typically located on the side of the machine.
Observe the indicator light; it should illuminate‚ confirming power. Gently depress the foot pedal to test the machine’s operation. Listen for smooth‚ consistent running. Ensure the needle moves freely without obstruction. If any unusual noises or movements occur‚ immediately switch off the machine and review setup steps.
Threading the Machine (Upper Thread)
Begin by raising the presser foot and the needle to its highest position. Place the spool of thread on the spool pin‚ securing it with a spool cap. Guide the thread through the thread guide‚ then down through the tension discs – ensure it seats firmly between them;
Next‚ lead the thread through the take-up lever‚ and then down through the needle clamp. Finally‚ thread the needle from front to back. Pull a sufficient length of thread through the needle eye‚ approximately 3-4 inches‚ to begin sewing.
Threading the Machine (Bobbin Thread)
First‚ ensure the machine is powered off. Locate the bobbin winder and engage it. Place the bobbin on the bobbin winder spindle and thread the end of the thread through the tension disc. Wind the bobbin evenly‚ stopping when full.
Next‚ disengage the bobbin winder. Open the bobbin case cover and insert the bobbin‚ ensuring the thread unwinds in the correct direction (typically counter-clockwise). Guide the thread through the tension spring and then pull up a few inches of thread to begin sewing.
Basic Sewing Techniques
Mastering fundamental techniques unlocks your Toyota sewing machine’s potential. Begin with straight stitching‚ practicing consistent speed and guiding the fabric smoothly. Next‚ explore zigzag stitching‚ adjusting width for various applications like finishing raw edges or creating decorative elements.
Experiment with stitch length and width settings to achieve desired results on different fabrics. Remember to test stitches on scrap fabric before starting your project. Consistent practice builds confidence and precision‚ leading to beautifully crafted creations.
Straight Stitching
The foundation of most sewing projects‚ straight stitching requires practice for consistent results. Ensure your machine is correctly threaded and the fabric is aligned with the presser foot. Begin by lowering the presser foot and gently guiding the fabric‚ maintaining a steady speed.
Avoid pulling or pushing the fabric; let the machine feed it through. Practice sewing straight lines on scrap fabric‚ focusing on maintaining a consistent seam allowance. Adjust stitch length as needed for different fabric weights and project requirements;
Zigzag Stitching
Zigzag stitching offers versatility for finishing raw edges‚ creating decorative elements‚ and sewing stretch fabrics. Select the zigzag stitch setting on your Toyota machine and adjust the stitch width and length according to your project needs. A narrower width is ideal for edge finishing‚ preventing fraying‚ while a wider width creates bolder designs.
Practice on scrap fabric to understand how different settings affect the stitch appearance. When sewing curves‚ reduce the speed and gently guide the fabric. Zigzag stitches provide flexibility and durability for various sewing applications.
Adjusting Stitch Length and Width
Stitch length and width controls are crucial for achieving desired sewing results. Typically‚ longer stitch lengths are used for heavier fabrics or when basting‚ while shorter lengths are suitable for delicate materials. The stitch width determines how wide the zigzag or decorative stitch will be.
Refer to your Toyota machine’s manual for specific dial settings; Always test adjustments on scrap fabric before starting your project. Experimenting with these settings allows for customization and ensures optimal stitch formation‚ enhancing both the appearance and strength of your seams.
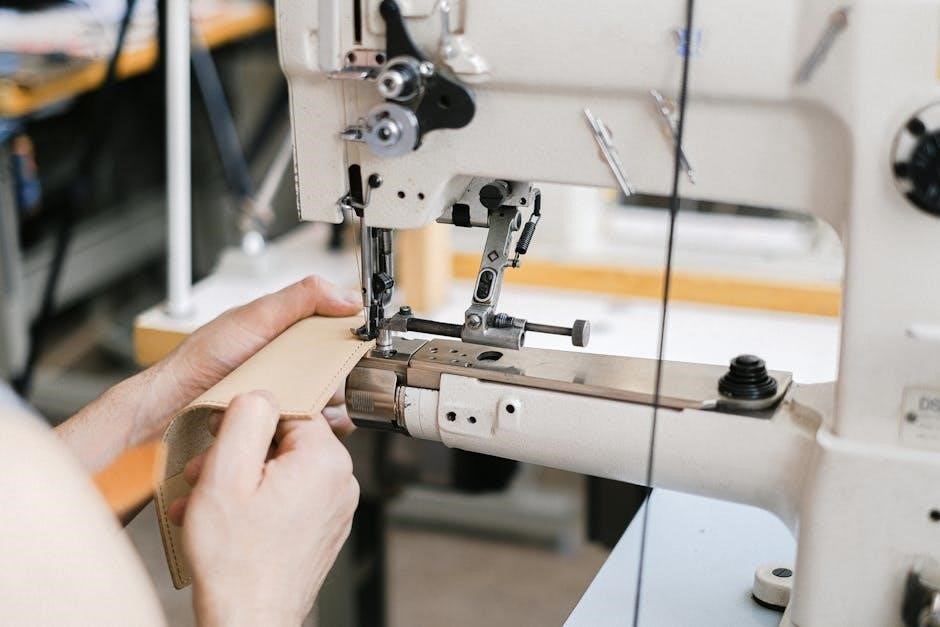
Advanced Sewing Features
Toyota sewing machines often include features beyond basic stitching. Many models boast automatic buttonhole capabilities‚ simplifying this traditionally challenging task. Zipper insertion is also streamlined with dedicated presser feet and stitch settings.
Some higher-end Toyota machines may even offer overlock or serger functions‚ providing a professional finish to fabric edges. Explore your machine’s manual to unlock these advanced capabilities. Mastering these features expands your sewing potential‚ allowing for more complex and refined projects.
Buttonhole Sewing
Toyota sewing machines frequently feature automatic buttonhole functions‚ greatly simplifying this process. Begin by selecting the buttonhole stitch on your machine. Attach the appropriate buttonhole foot; it typically has a slot for guiding the fabric.
Place your button at the designated marking on the buttonhole foot. The machine will then automatically stitch around the button‚ creating a perfectly sized opening. Refer to your model’s manual for specific buttonhole stitch variations and adjustments. Practice on scrap fabric before working on your final project!
Zipper Insertion
Inserting zippers with your Toyota sewing machine requires a specialized zipper foot. Attach this foot to your machine; it allows stitching close to the zipper teeth. Begin by pinning the zipper tape to the fabric‚ ensuring the zipper is partially open.
Select a straight stitch and carefully stitch along the zipper tape‚ close to the teeth. Repeat on the other side of the zipper. Practice on scrap fabric to master consistent stitching and achieve a professional finish; Refer to your machine’s manual for detailed guidance!
Overlock/Serger Functions (if applicable)
If your Toyota machine includes overlock or serger capabilities‚ it offers professional edge finishing. These functions simultaneously cut‚ sew‚ and overcast fabric edges‚ preventing fraying. Select the appropriate overlock stitch setting on your machine.
Thread the machine according to the serger threading diagram in your manual – this is crucial for proper function. Practice on scrap fabric to adjust stitch width and tension for optimal results. Serging enhances garment durability and provides a polished‚ ready-to-wear appearance.
Troubleshooting Common Issues
Encountering problems? This section addresses frequent issues. Thread breakage often stems from incorrect threading‚ tension imbalances‚ or a dull needle. Skipped stitches can indicate incorrect needle type‚ improper threading‚ or timing issues; Machine jamming usually results from fabric buildup in the bobbin area or incorrect thread usage.
Always re-thread the machine and check the needle before attempting repairs. Refer to the manual’s diagrams for correct threading. Ensure proper lubrication and cleaning to prevent future problems. If issues persist‚ consult a qualified technician.
Thread Breakage Problems
Frequent thread breaks? Several factors contribute to this issue. Incorrect threading is a primary cause; ensure the thread path follows the manual’s diagram precisely; Tension that’s too tight strains the thread‚ leading to breakage. A dull or damaged needle can also snag and break the thread. Using the wrong thread type for your fabric can create excessive friction.
Always use high-quality thread and replace needles regularly. Re-thread the machine completely‚ checking each guide. Adjust tension settings incrementally. Ensure the bobbin is correctly inserted and wound.
Skipped Stitches
Experiencing skipped stitches? This often indicates a problem with the needle or its interaction with the fabric. A bent or dull needle is a common culprit; replace it immediately. Incorrect needle size for the fabric weight can also cause skips. Ensure the needle is properly inserted – it should be fully seated and facing the correct direction.
Check the thread tension‚ as imbalances can lead to skipped stitches. Verify the presser foot pressure is appropriate for the fabric. Finally‚ ensure you’re using the correct thread type for your project.
Machine Jamming
Is your Toyota sewing machine locked up? Machine jamming usually stems from tangled thread or fabric caught within the mechanisms. Immediately stop and disconnect the power. Carefully remove the bobbin case and inspect for tangled threads. Check the needle area for fabric scraps or broken thread pieces.
Ensure the presser foot is raised before attempting to clear jams. Never force anything; gentle manipulation is key. Regularly cleaning lint and debris from the bobbin area prevents future jams. Proper threading and tension are crucial for smooth operation.
Maintenance and Care
Preserving your Toyota sewing machine’s longevity requires consistent maintenance. Regular cleaning is paramount – remove lint and dust after each use with a brush. Lubricate key components‚ like the bobbin area and motor‚ periodically‚ following the manufacturer’s guidelines.
Annual servicing by a qualified technician is recommended for optimal performance. Always use the correct parts when replacing components. Proper care prevents malfunctions and ensures smooth‚ reliable operation for years of creative projects. A well-maintained machine is a happy machine!
Cleaning Your Toyota Sewing Machine
Regular cleaning is vital for maintaining your Toyota sewing machine’s performance. Always unplug the machine before cleaning! Use a soft brush to remove lint and dust from the bobbin area‚ feed dogs‚ and needle plate after each use. A small vacuum cleaner attachment can also be helpful.
Wipe down the exterior with a damp cloth. Avoid harsh chemicals or abrasive cleaners. Pay attention to oil buildup around moving parts. Consistent cleaning prevents jams‚ ensures smooth stitching‚ and extends the life of your machine.
Lubrication Procedures
Proper lubrication ensures smooth operation and prevents wear on your Toyota sewing machine. Use only sewing machine oil – never oil containing acid! Apply a small drop to the bobbin race‚ hook assembly‚ and other designated oiling points as indicated in your machine’s specific diagram.
Avoid over-oiling‚ as excess oil attracts dust. After oiling‚ run the machine briefly to distribute the lubricant. Regular lubrication‚ combined with cleaning‚ significantly extends the lifespan of your Toyota sewing machine and maintains optimal performance.
Regular Servicing
Consistent performance relies on scheduled servicing for your Toyota sewing machine. Annual professional servicing is recommended‚ even with diligent home maintenance. A qualified technician will thoroughly inspect‚ clean‚ and adjust all components‚ ensuring optimal functionality.
Servicing includes checking the timing‚ tension‚ and motor‚ addressing potential issues before they escalate. Preventative maintenance saves costly repairs and extends the machine’s life. Keep records of all servicing performed to maintain your warranty and track the machine’s history.
Safety Precautions
Always disconnect the power supply before cleaning‚ changing the needle‚ or performing any maintenance. Never sew over pins or thick materials that could damage the needle. Keep fingers away from the needle area while the machine is operating.
Use only genuine Toyota accessories and parts to avoid malfunctions and potential hazards. Do not operate the machine if it is damaged or malfunctioning. Supervise children when they are near the sewing machine. Ensure adequate ventilation during use.
Finding Replacement Parts
Genuine Toyota replacement parts ensure optimal performance and longevity for your sewing machine. Check with authorized Toyota sewing machine dealers for availability and assistance. Online retailers‚ such as eBay‚ often carry a wide selection of parts‚ both new and vintage.
When ordering‚ have your machine’s model number readily available for accurate part identification. Consider contacting Toyota’s customer support for part numbers or guidance. Verify the part’s compatibility before installation. Beware of counterfeit parts and prioritize quality for safety and functionality.
Toyota Sewing Machine Accessories
Enhance your sewing experience with a range of Toyota accessories! Presser feet – zigzag‚ buttonhole‚ and blind hem – expand your stitching capabilities. Bobbins are essential‚ so keep spares on hand. Needles‚ in various sizes and types‚ cater to different fabrics.
Consider a seam ripper for correcting mistakes‚ and a quilting guide for precise stitching. Explore specialized feet for embroidery or decorative techniques. Pinterest offers inspiration for accessory uses. Genuine Toyota accessories guarantee compatibility and quality‚ maximizing your machine’s potential.
Understanding Toyota Sewing Machine Error Codes
Toyota sewing machines utilize error codes to diagnose issues. Consult your specific model’s manual for a complete list‚ as codes vary. Common codes indicate threading problems‚ bobbin issues‚ or motor malfunctions. An “E1” code might signal an upper thread error‚ while “E2” could relate to the bobbin.
Referencing the manual allows for targeted troubleshooting. Ignoring codes can lead to further damage. If an error persists after attempting solutions‚ contact authorized Toyota service. Remember‚ understanding these codes empowers you to maintain your machine effectively.
Resources for Further Assistance
For additional support‚ explore Toyota’s official website for FAQs and downloadable manuals. Online sewing communities and forums‚ like those found on Pinterest‚ offer valuable tips and troubleshooting advice from fellow enthusiasts. eBay provides access to a network of sellers specializing in Toyota sewing machines and parts.
Consider contacting authorized Toyota service centers for professional repairs and maintenance. YouTube tutorials can visually guide you through various techniques. Remember to always prioritize official documentation and qualified technicians for complex issues.
Warranty Information
Your Toyota sewing machine is covered by a limited warranty against defects in materials and workmanship. The warranty period typically begins from the date of original purchase‚ varying by model and region. This warranty covers parts and labor for repairs performed by authorized Toyota service centers.
Please retain your proof of purchase for warranty claims. The warranty does not cover damage caused by misuse‚ accidents‚ or unauthorized modifications. Refer to the separate warranty card included with your machine for complete details and specific terms and conditions.
Disposal and Recycling
When your Toyota sewing machine reaches the end of its life‚ please dispose of it responsibly. Do not simply discard it with regular household waste; Electronic equipment contains valuable materials that can be recovered through recycling.
Contact your local waste management authorities for information on designated e-waste collection points or recycling programs. Alternatively‚ check with Toyota’s customer support for potential take-back initiatives. Proper disposal helps protect the environment and conserves resources‚ contributing to a sustainable future.